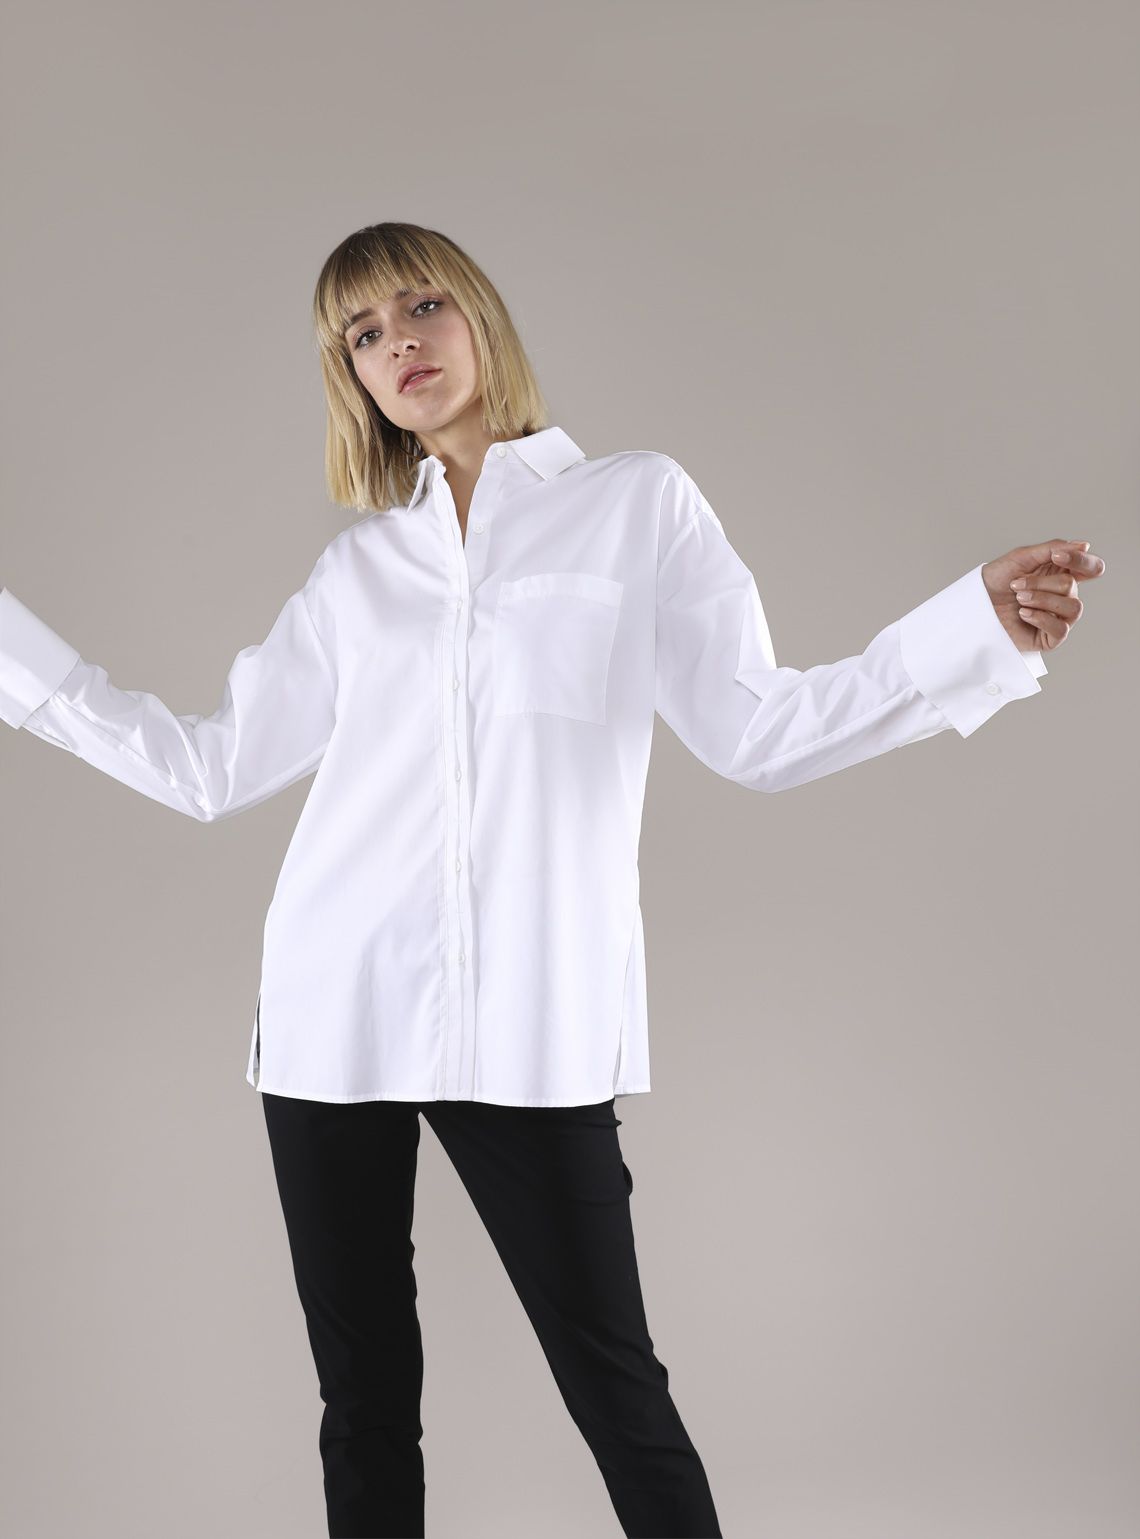
Transform an Oversized Shirt with This Easy Sewing Pattern Shirt Dress Tutorial
Want to give an old shirt a new life? If you love upcycling and want a fun weekend project, this sewing pattern shirt dress is perfect for you.
With just a few basic supplies and some creativity, you can turn an oversized denim shirt into a stylish and feminine dress—complete with embroidery and lace details.
It’s budget-friendly, beginner-friendly, and a fantastic way to learn new sewing skills.
Let’s walk through how to create your own custom sewing pattern shirt dress, step-by-step.
✂️ Supplies You’ll Need:
To make this DIY sewing pattern shirt dress, gather the following:
-
1 oversized denim button-up shirt
-
Embroidered fabric (or use your machine’s decorative stitches to create designs)
-
Lace trim (great for adding a feminine collar detail)
-
½” (1.3 cm) wide elastic (your waist measurement + 1” / 2.5 cm)
-
Sewing pins
-
Seam ripper
-
Marking pencil or fabric chalk
-
Scissors
-
Sewing machine
-
Your imagination!
🧵 Step 1: Adjust the Armholes & Sleeves
The foundation of this sewing pattern shirt dress starts with shaping. The armholes may not sit right on your shoulders since you’ll be working with an oversized shirt.
Try the shirt on and look at where the sleeves fall.
If they droop too low or feel baggy, it’s time to reshape them.
-
Use your seam ripper to remove the sleeves from the shirt carefully.
-
Adjust the armhole shape to better fit your shoulders by trimming the excess and reshaping the curve.
-
Next, take in the sleeves by measuring your arm circumference and tapering the sleeve sides to match.
-
Once adjusted, sew the sleeves back into the armholes with a straight stitch, right sides together.
This quick alteration instantly gives the shirt a more flattering and fitted silhouette—an essential step in transforming it into a sewing pattern shirt dress.
📏 Step 2: Mark the Waistline
With your shirt turned inside out (wrong side facing out), put it on and find the narrowest part of your waist. This is where you’ll be adding elastic to give the dress shape.
-
Use your marking pencil or fabric chalk to draw a horizontal line around the waist area.
-
Make sure the line is even all the way around. A measuring tape can help keep things level.
🧵 Step 3: Add the Elastic Waistband
Elastic will cinch the waist, creating a soft, flattering gather around your midsection.
-
Pin your elastic directly over the marked line, aligning it evenly.
-
Start stitching the elastic onto the shirt using a zigzag or straight stitch.
-
Slightly stretch the elastic as you sew to allow the fabric to gather naturally.
-
Stitch the elastic’s top and bottom edges to secure it fully.
This is the moment your sewing pattern shirt dress starts to take shape!
🌸 Step 4: Add Embroidery Details
This is where your creativity can shine!
You can use pre-embroidered fabric or make your own using your sewing machine’s decorative stitch functions.
-
Cut your embroidered fabric into desired shapes—think hearts, flowers, or geometric designs.
-
Pin them in place on your shirt.
-
Edge stitch around each shape to secure them onto the dress.
If you use decorative stitches instead of fabric, mark your design directly on the shirt and stitch along your drawn lines using different stitch patterns for a custom look.
The embroidery adds a girly, personal touch to your sewing pattern shirt dress, and makes your design stand out!
🪡 Step 5: Add Lace Trim to the Collar
Nothing adds charm like a bit of lace!
-
Take your lace trim and pin the right side of the lace to the wrong side of the collar edge.
-
Once pinned, edge stitch along the trim to secure it neatly.
The lace detail adds softness and a vintage-inspired feel to your new dress.
💡 Final Thoughts
This sewing pattern shirt dress project is not just a great way to upcycle clothing—it’s also a fun opportunity to experiment with garment construction, embroidery, and detail work. Whether you’re a beginner or a seasoned sewer looking for a quick, creative project, this dress offers a perfect blend of practicality and style.
So grab that oversized denim shirt and your sewing tools—it’s time to turn something simple into something stunning. Happy sewing!
